Building an App
Build a custom app from a single conversation — describe what you want, watch it come to life, refine with feedback, and publish to your team.
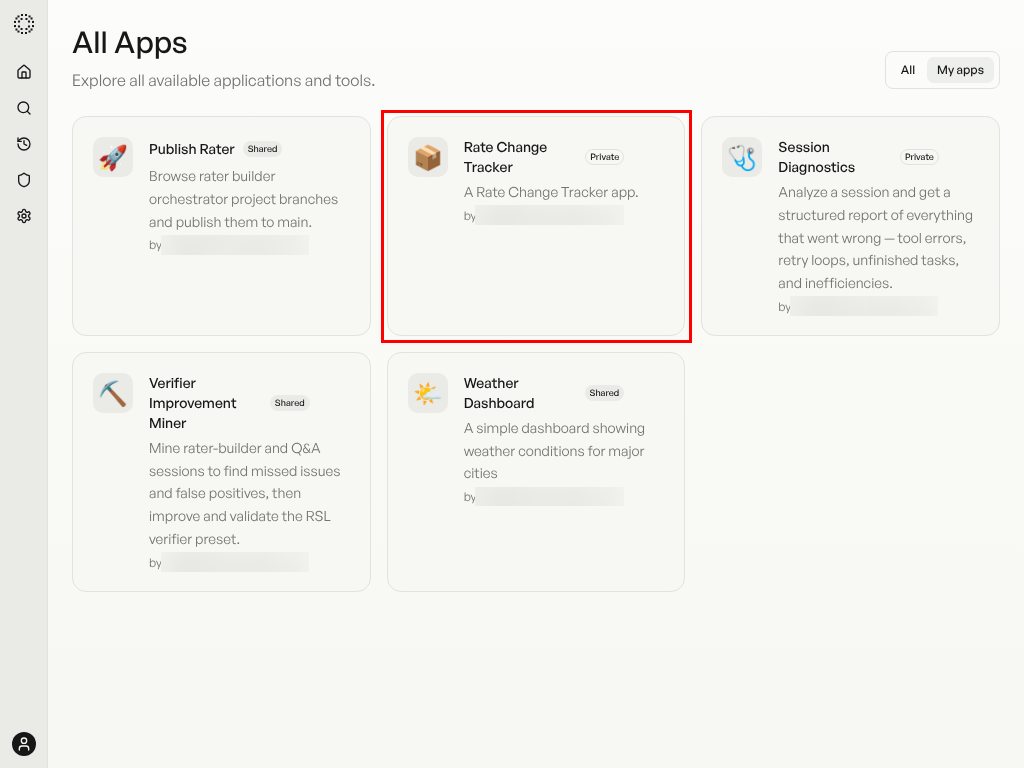
Find the App Builder
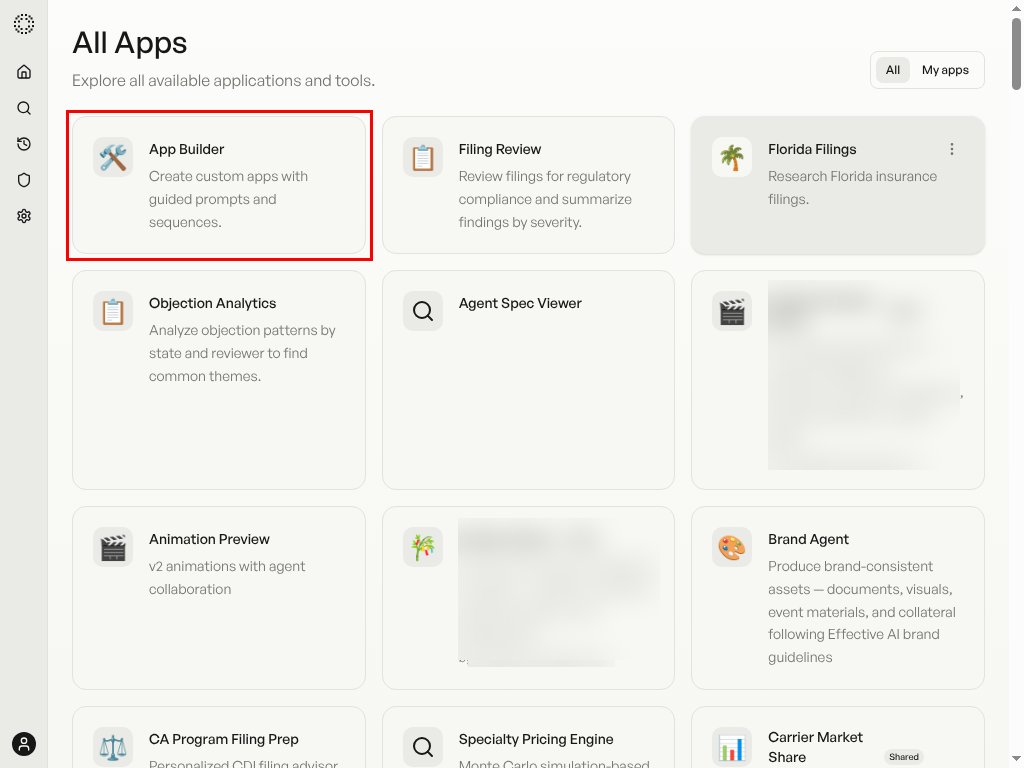
From the home page, click View All under the Apps section to browse the full app catalog. Find App Builder — it's the tool that lets you create custom apps through conversation.
Open App Builder
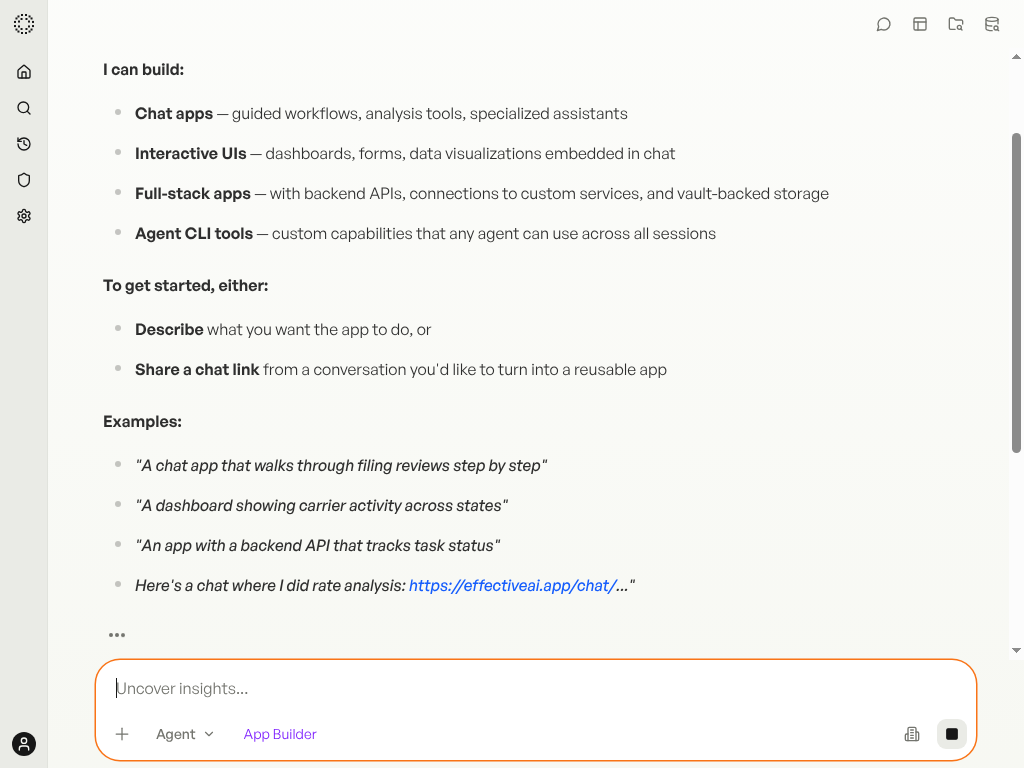
Click the App Builder card to start a new session. You'll see a welcome message explaining what kinds of apps you can build — from dashboards and data visualizations to full-stack apps with backend APIs.
Describe What You Want
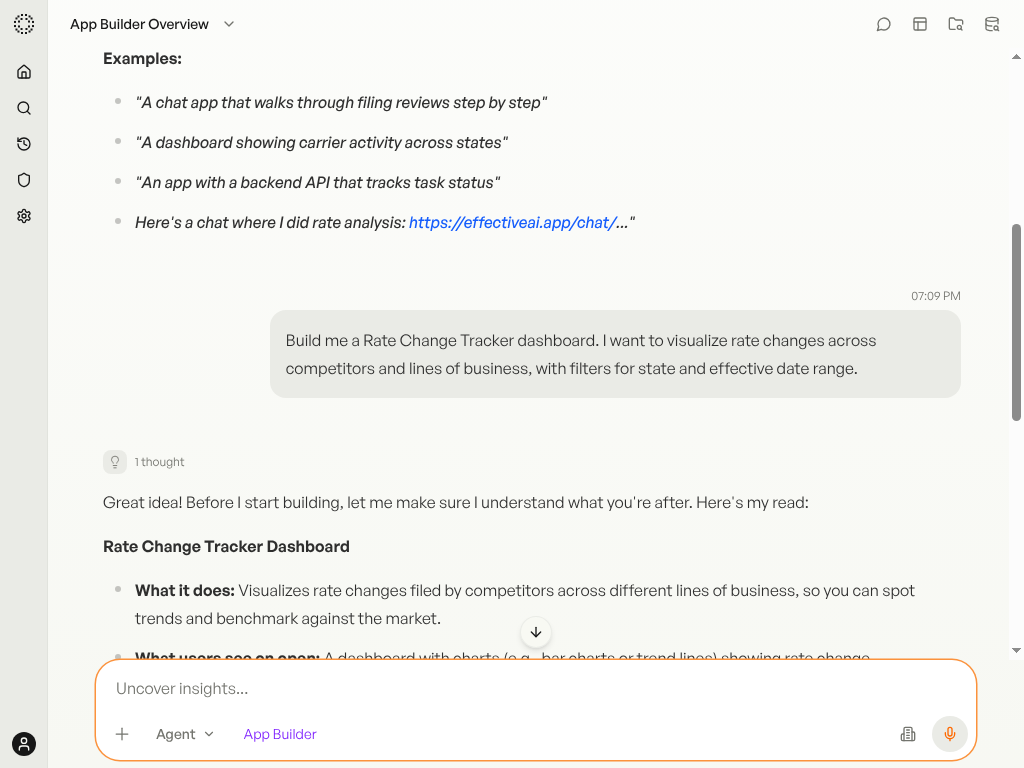
Tell the agent what you'd like to build in plain language. Describe the purpose, the data you want to visualize, and any specific features. The agent will confirm your requirements before building.
Type: "Build me a Rate Change Tracker dashboard with filters for state and effective date range."
Watch It Come to Life
The agent scaffolds your app, writes the code, runs quality checks, and starts a live preview — all within the chat. A preview panel appears on the right so you can see the result immediately.
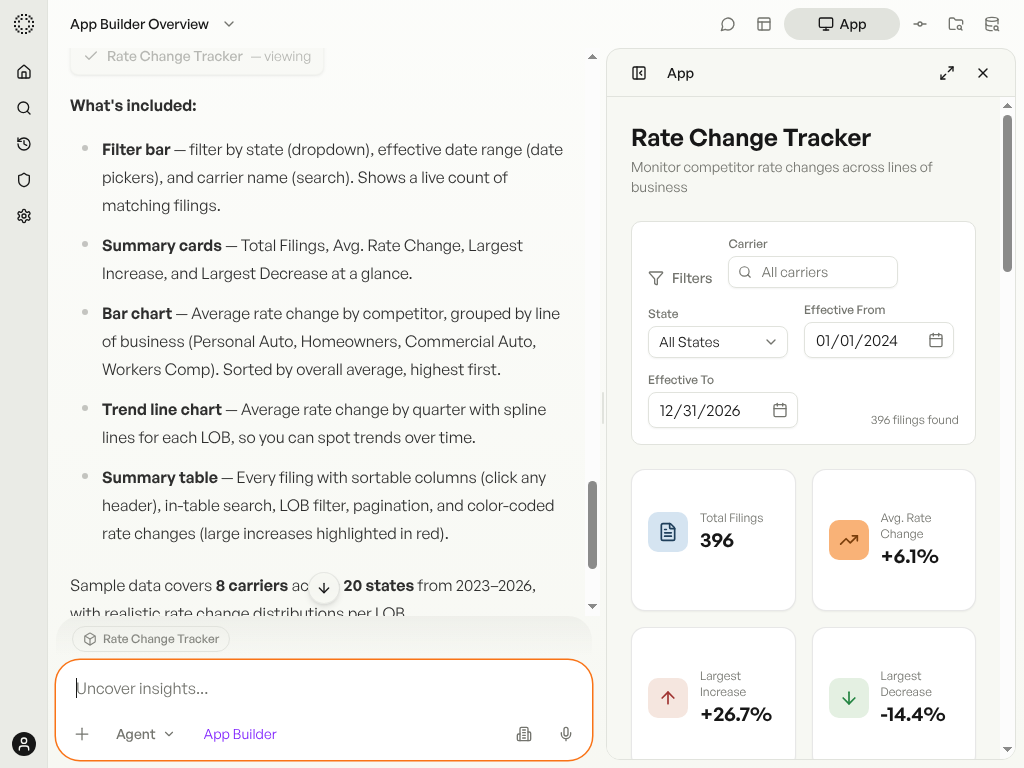
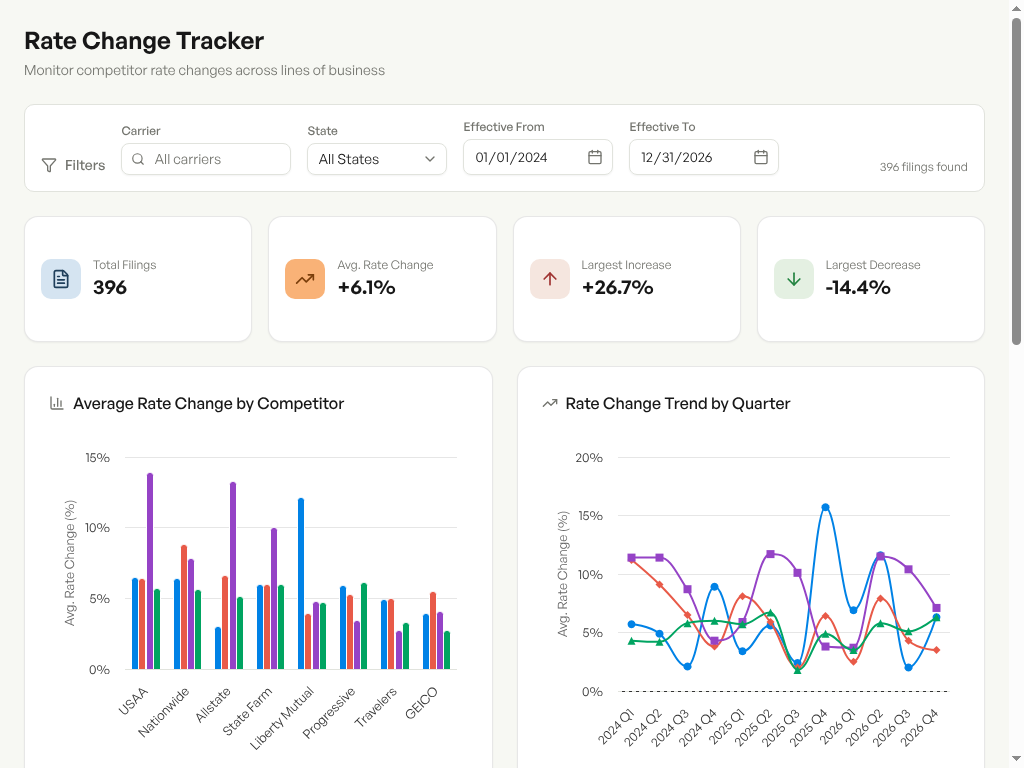
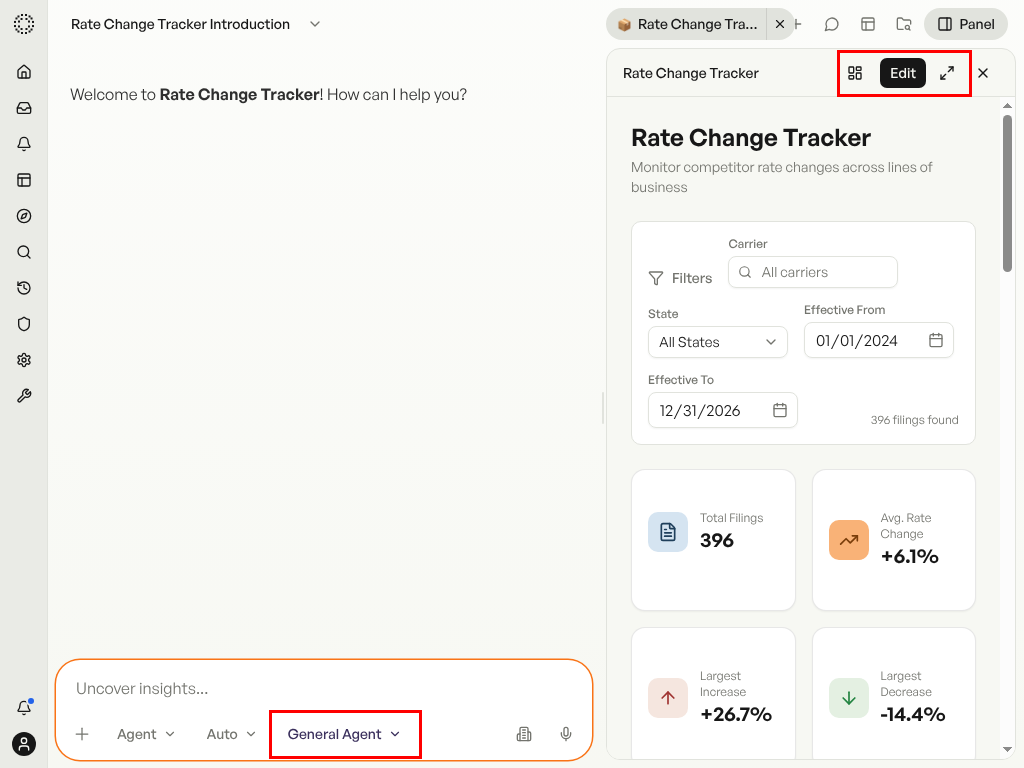
Your App, Up Close
Here's the finished Rate Change Tracker dashboard — a fully interactive app with filter controls, summary cards, Highcharts visualizations, and a searchable data table. All built from a single conversation.
Refine with Feedback
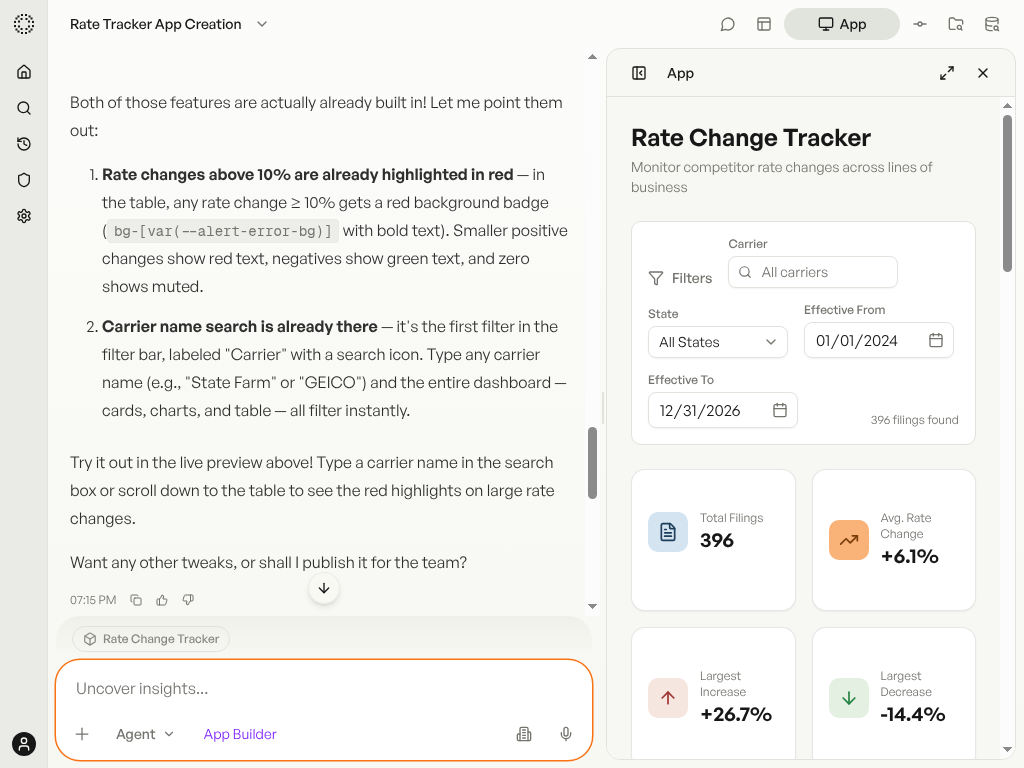
Review the app and request changes in natural language. The agent understands the full context of what it built and responds immediately — pointing out existing features or making targeted updates. The live preview refreshes automatically.
Type: "Highlight rate changes above 10% in red, and add a carrier name search filter."
Note: While you're iterating, the app's database is scoped to your editing session — any data you load or seed for previewing is wiped once the session ends. After you publish, the app gets a persistent production database and all data sticks around for your team.
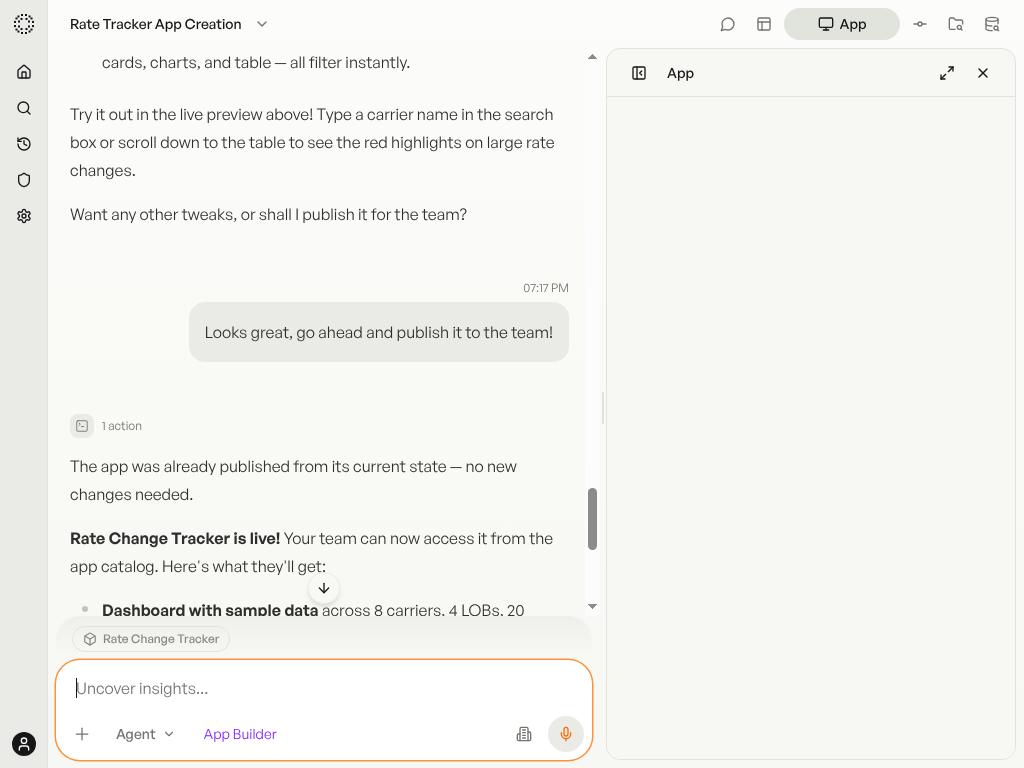
Publish to Your Team
When you're happy with the result, ask the agent to publish. It runs automated checks, builds the production version, and deploys to your team's app catalog — all in one step.
Type: "Go ahead and publish it to the team!"
Find It in the Catalog
Click View All on the home page, then select the My apps tab to find your newly published app. It may take a few minutes to appear after publishing. Once it's live, any team member can open and use it.
Edit a Published App
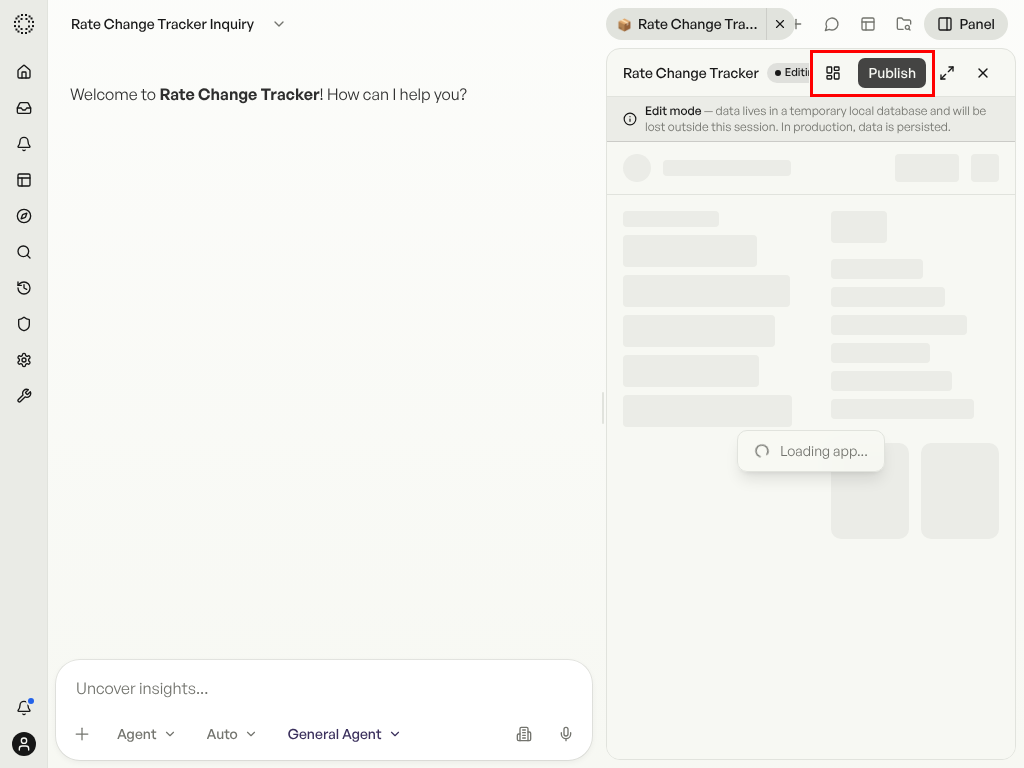
Open your published app from the catalog. To make changes, first switch to the App Builder agent using the agent selector in the chat box, then click the Edit button in the app header. A dev server spins up, the "Editing" pill appears next to the app name, and a banner reminds you that data lives in a temporary local database. Now you can describe fixes or new features in plain language — the agent updates the app live.
Type: "Add a date range filter" or "Fix the chart colors" to make changes via chat.
Publish Your Changes
When you're done editing, the Edit button becomes Publish. Click it to deploy your changes — or tell the App Builder agent: "Publish the app." The system runs a build, commits your code, and deploys the production version. You'll see a "Publishing..." state in the header while it works. Once complete, the app is live with your updates.
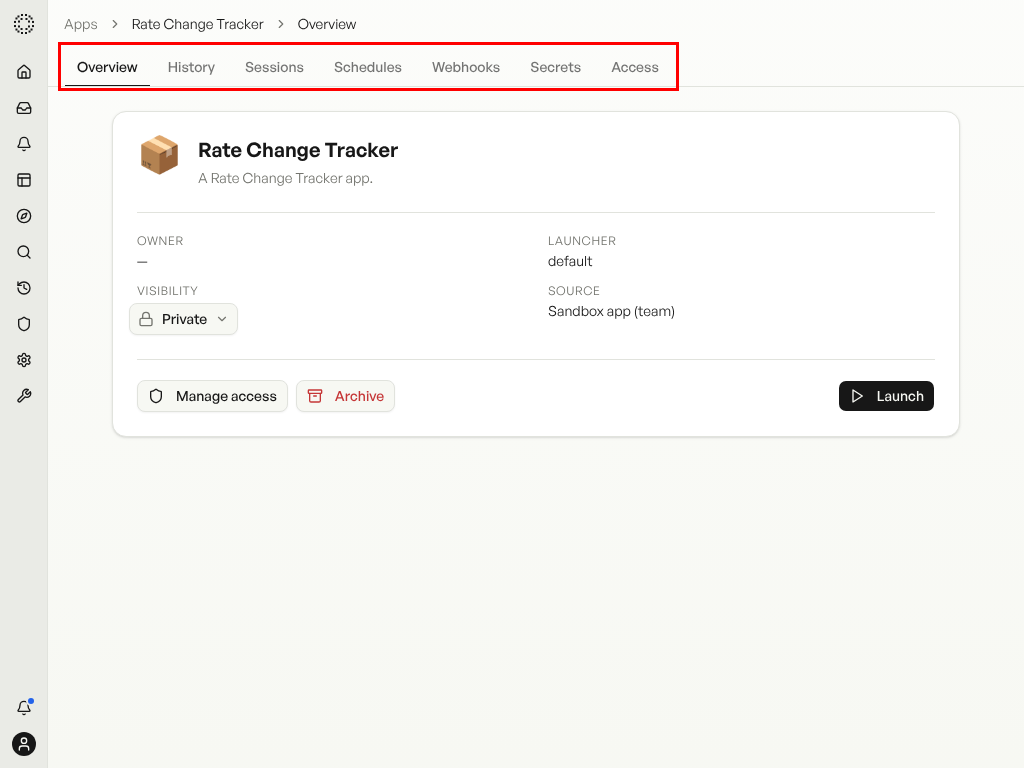
Open the App Dashboard
Open an app's Dashboard from the catalog or toggle the Dashboard button in the app header. The dashboard shows tabs for History, Sessions, Schedules, Webhooks, Secrets, and Access — giving you full control over your app's lifecycle.
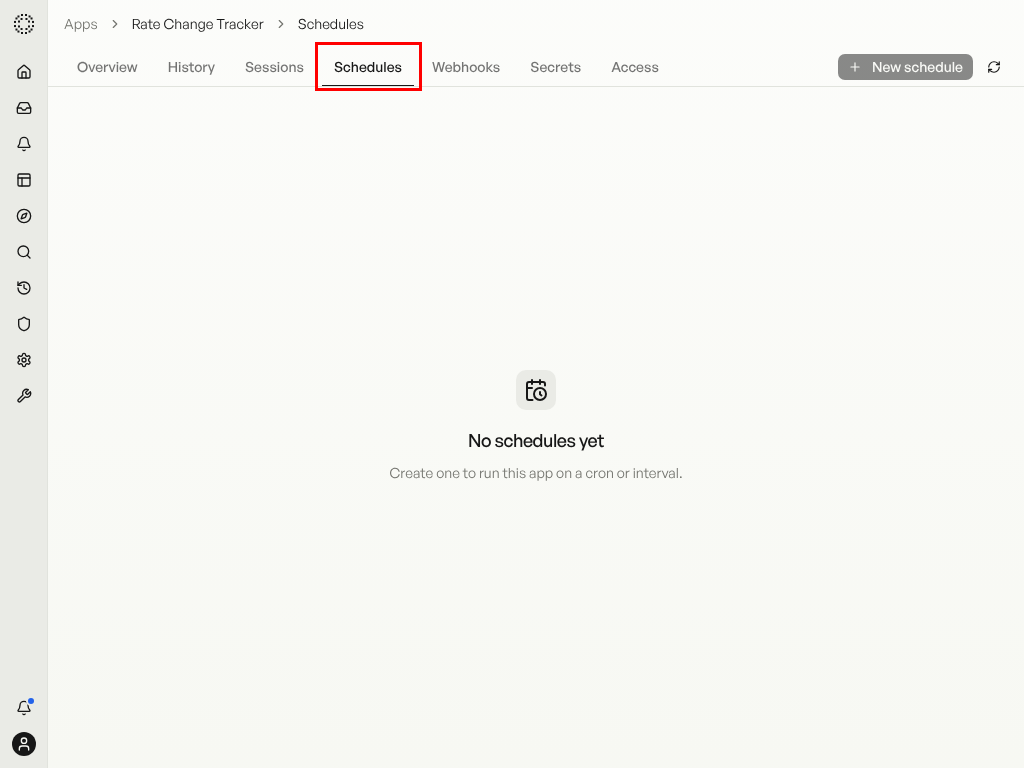
Schedule Recurring Runs
In the Schedules tab, set up recurring runs with cron expressions. Pause, resume, run now, or delete individual schedules. Each run creates a new session you can review in the Sessions tab.
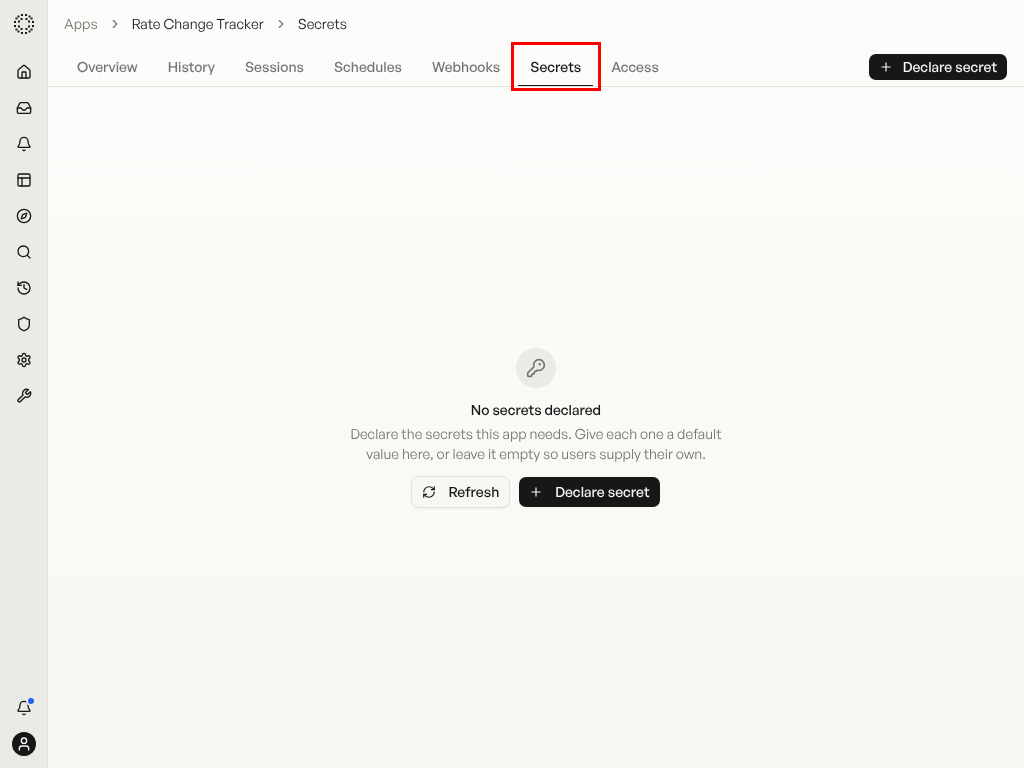
Configure Secrets
The Secrets tab lets you declare API keys and sensitive values your app needs. Runners bind their own values; builders manage defaults. Secrets are encrypted at rest and only available to the app at runtime.
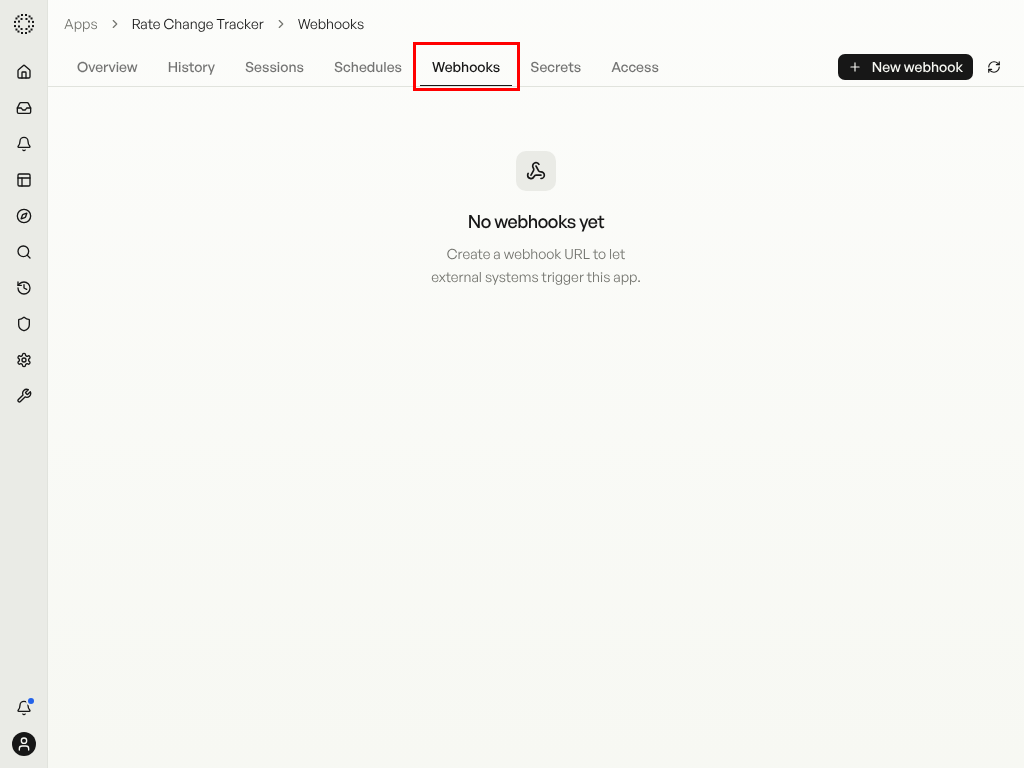
Set Up Webhooks
Create incoming webhook URLs in the Webhooks tab for external integrations to trigger your app automatically. Each webhook gets a unique URL that external services can POST to.
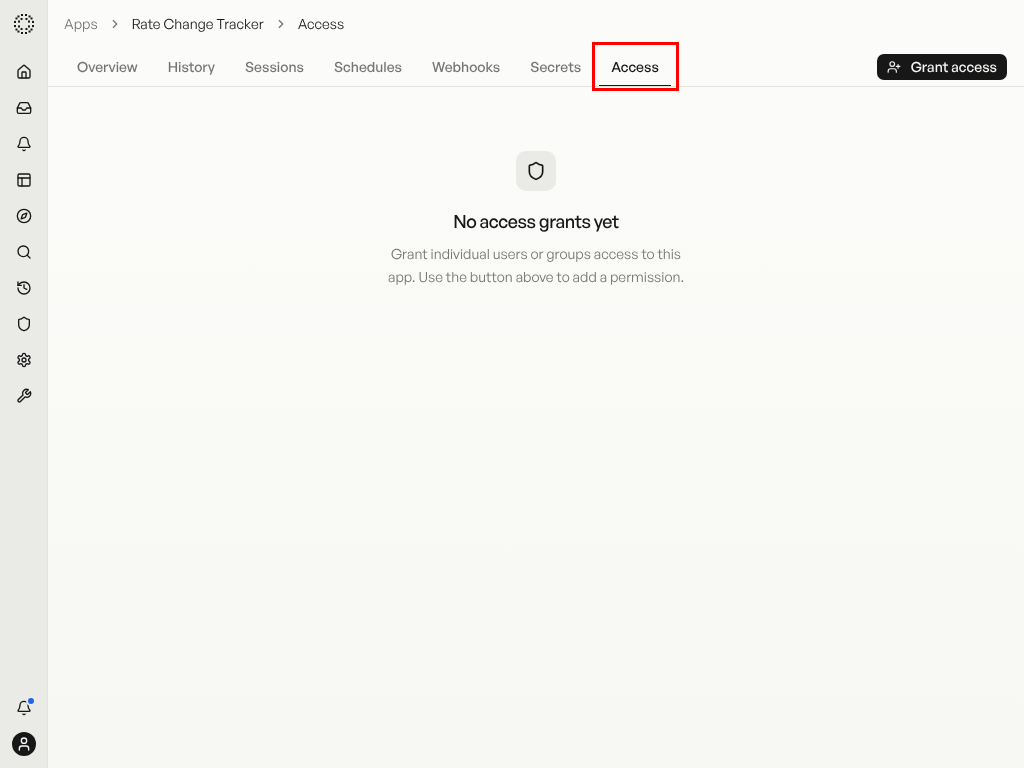
Control Access
The Access tab lets you grant or revoke permissions — run, build, or manage — for individual users or your entire team. Only users with manage permission can change access settings.